Installation Guide
For a roadside Wintersense Road Temperature Sensor
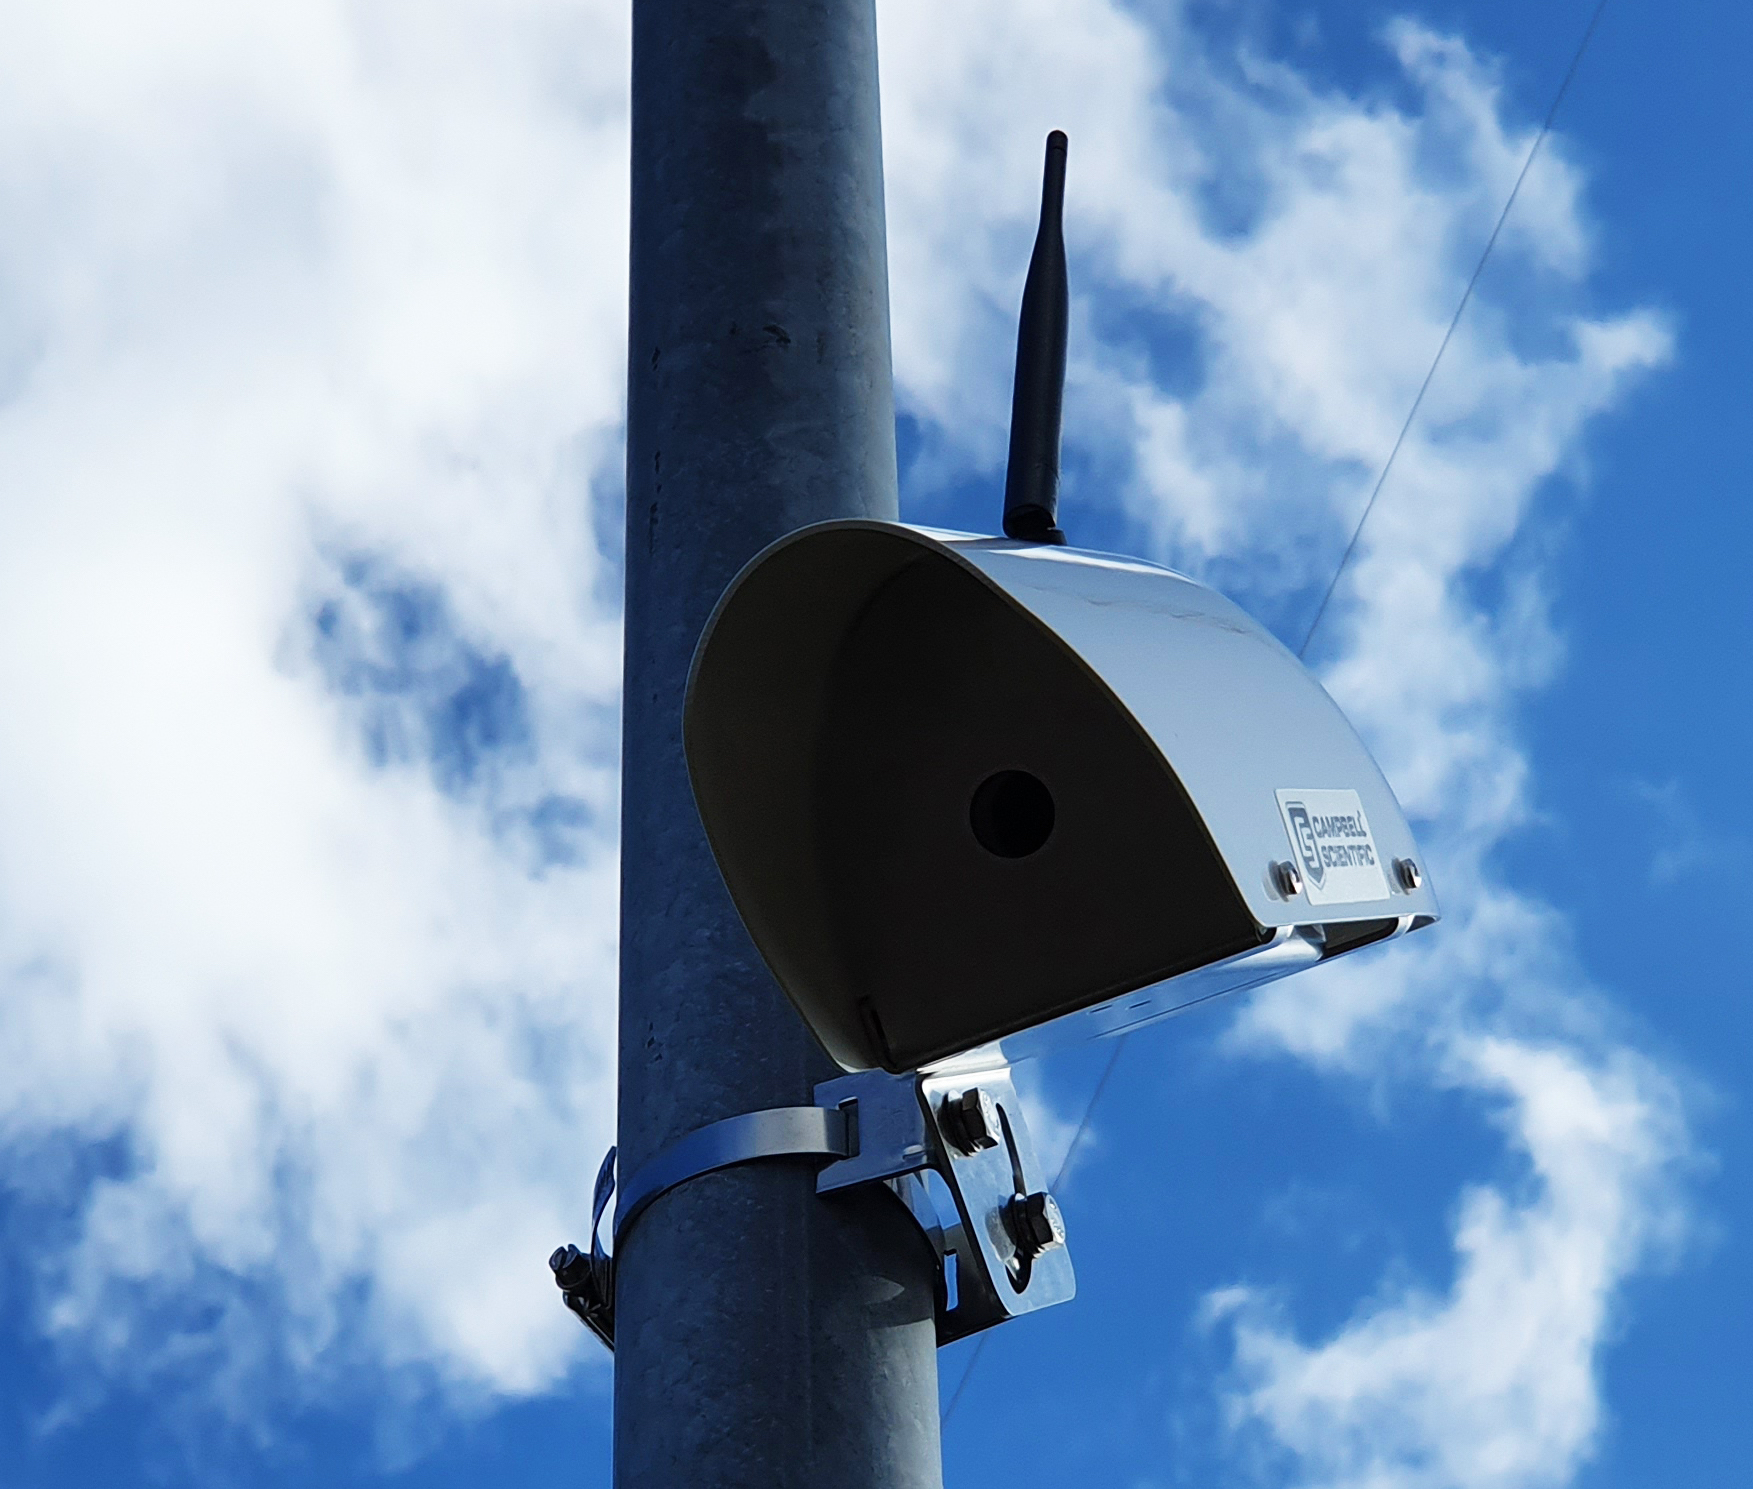
Wintersense road temperature sensors are small (max length < 13 cm), lightweight (< 500g), battery-powered devices that measure road surface temperature using a passive infrared sensor. They submit their observations to the cloud at regular intervals using wireless communications.
Sensor installation is commonly performed by the Wintersense team as an optional part of the service. However, if you are planning to perform the installation yourself then here is a guide detailing the steps involved.
Step 1. Identifying a suitable installation site
You'll probably already have a good idea of which sections of your road network are of most interest, e.g. a suspected cold spot, or accident-prone location. Alternatively you may wish to select a site that is representative of a particular gritting route, or spread them out uniformly. The next step is to find suitable roadside street furniture, onto which the sensors can be mounted, within those areas.
Street furniture requirements:
- Vertical posts, such as lighting columns, are preferable.
- The column should be no further than 2 metres from the road. For distances greater than this the field of view can grow too wide. You can test this with our Field of View Visualiser.
- The column should be taller than 3 metres. This is because the sensors are commonly mounted at a height of 3 metres. This reduces the risk of vandalism and contamination from vehicle spray. The sensor may be mounted higher if required, up to a height of approximately 5 metres.
- It must be safe to install the sensor via a stepladder or raised platform (e.g. cherry picker). Traffic management may be required.
- You must have permission to install on the given street furniture.

Depending on the communications network used by the sensor, e.g. LPWANs or Wi-Fi, it is also crucial to ensure there is a wireless signal. Please get in touch for help checking this.
Step 2. Mounting the sensor
The procedure for mounting the sensor is as follows:
- Use a stepladder or raised-platform (e.g. cherry picker) to safely reach a working height of approximately 3 metres.
- Make a note of the sensor id, type and key, as written on the sensor, as they are required later.
- Ensure the sensor has batteries inserted (usually 2 × C-cell) and that the sensor lid is fully tightened.
- Ensure the sensor is firmly bolted to the C-shaped mounting bracket.
- Thread an appropriately size Tamtorque band (or equivalent jubilee clip) through the C-shaped bracket and tighten around the column. N.B. Tamtorque bands require a proprietary screwdriver (part no. DTT1BG) or drill bit (part no. DTTBP50BG) to tighten.
- Align the sensor with the black infrared aperture pointed down towards the centre of the road lane (i.e. between the wheel tracks). A laser pointer/measure can be rested on the side of the sensor to aid this process. Once aligned you may need to re-tighten the nuts.
Step 3. Adding the Sensor & Site to the Web Application
By this point the sensor should be regularly submitting road temperature measurements to the Wintersense cloud servers. However, until it's linked to your own Wintersense Network you won't be able to see any data from it. The steps involved to do this are as follows:
- Sign up or log in to the Wintersense Web Application.
- Create a Network.
- Add the Sensor to this Network by entering the Sensor Key (written on the sensor).
- Create a new Site. This is where you specify its location.
- Link the Sensor to the Site. Now the next time the sensor submits a reading you will be able to see it in the Plots section.
In practise you may wish to add all your Sensors (and possibly Sites) to your Network before you go out to install. This way all you have to do in the field is add a new Link once you have installed a given Sensor at a given Site.
A Sensor refers to the physical device. Each sensor has an id and a type, along with a unique 10 character Key that's used to add a sensor to your Network.
A Site refers to a place where a sensor is, or will be, installed.
As soon as you physically install a Sensor at a Site that's when you should Link the two together. Likewise when you remove the Sensor, perhaps to use it at another Site, you should Unlink it. Were you to swap it for a replacement then this new Sensor would be Linked to the same Site. This produces a continuous record of observations for the Site no matter many Sensors were used.